
S1 Adv: The Inside Dirt on Templates
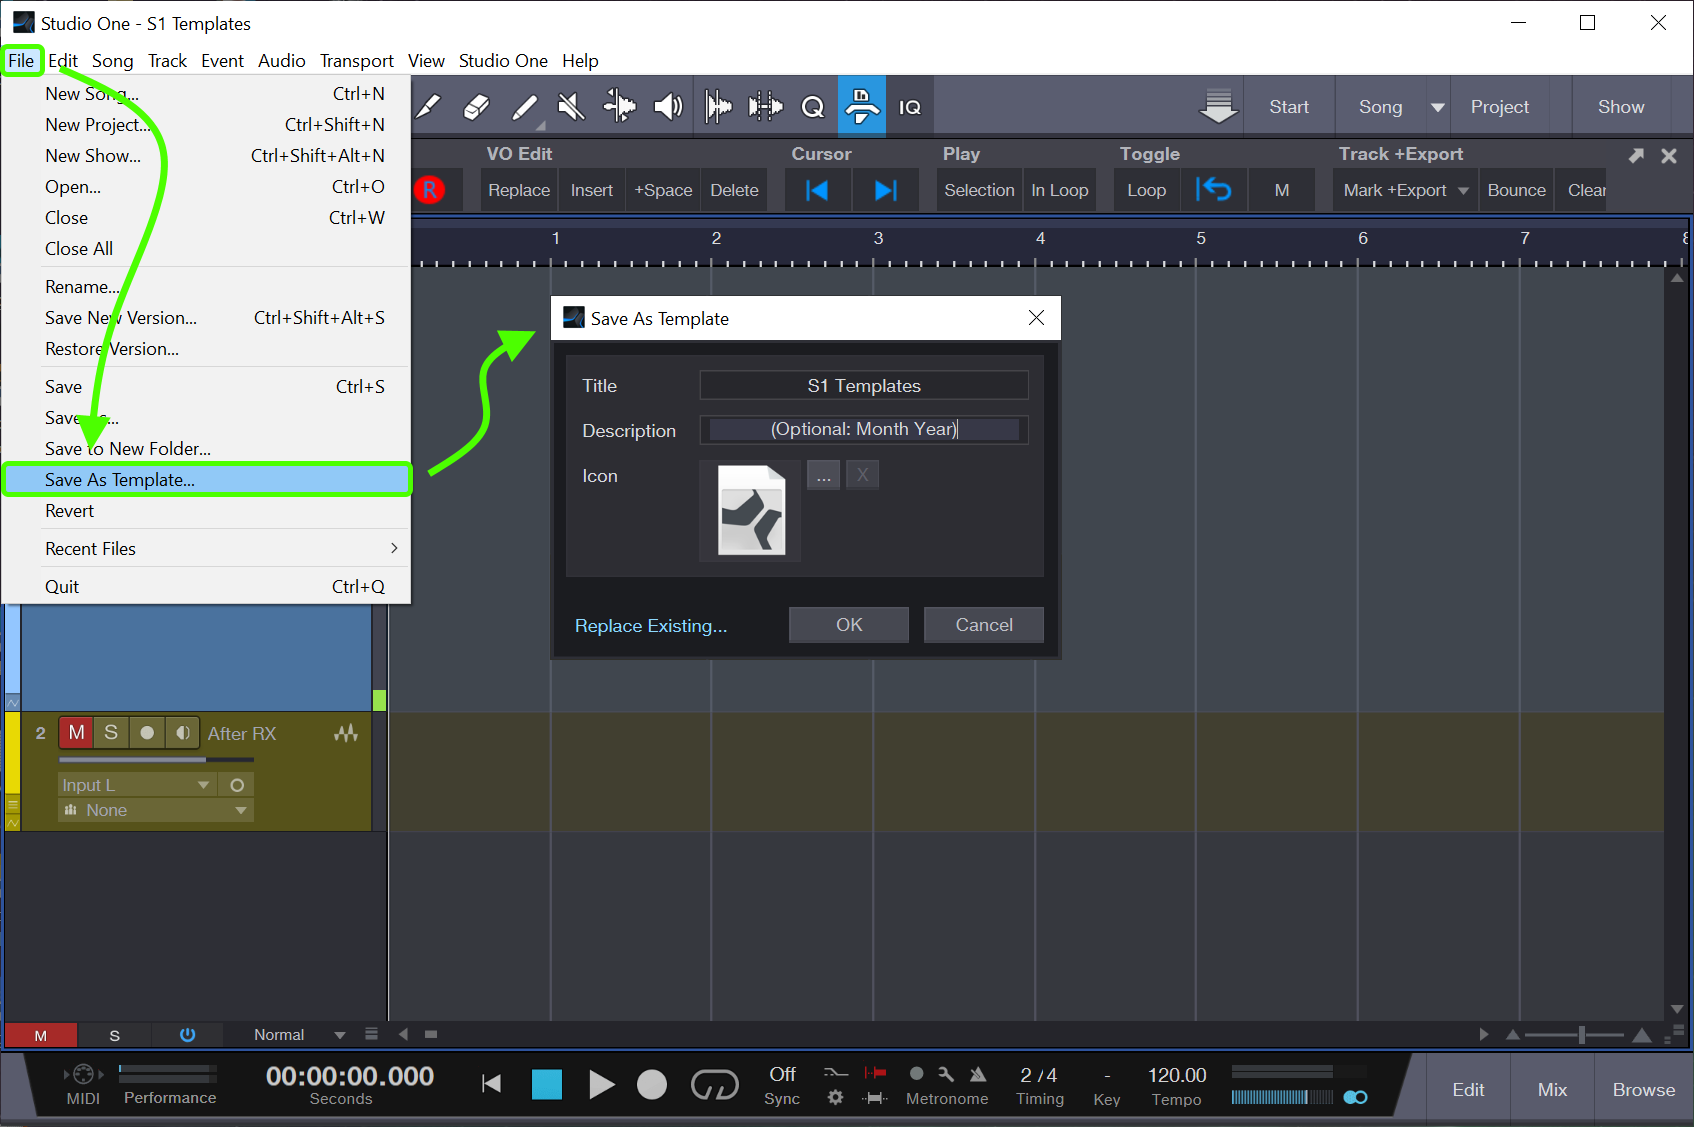
“File > Save As Template…” is your friend.
The dialog box allows you to name, add a description/comment (optional) -OR- Replace (update) an existing template with your updated version.
Starts the same as Saving a Template the first time.
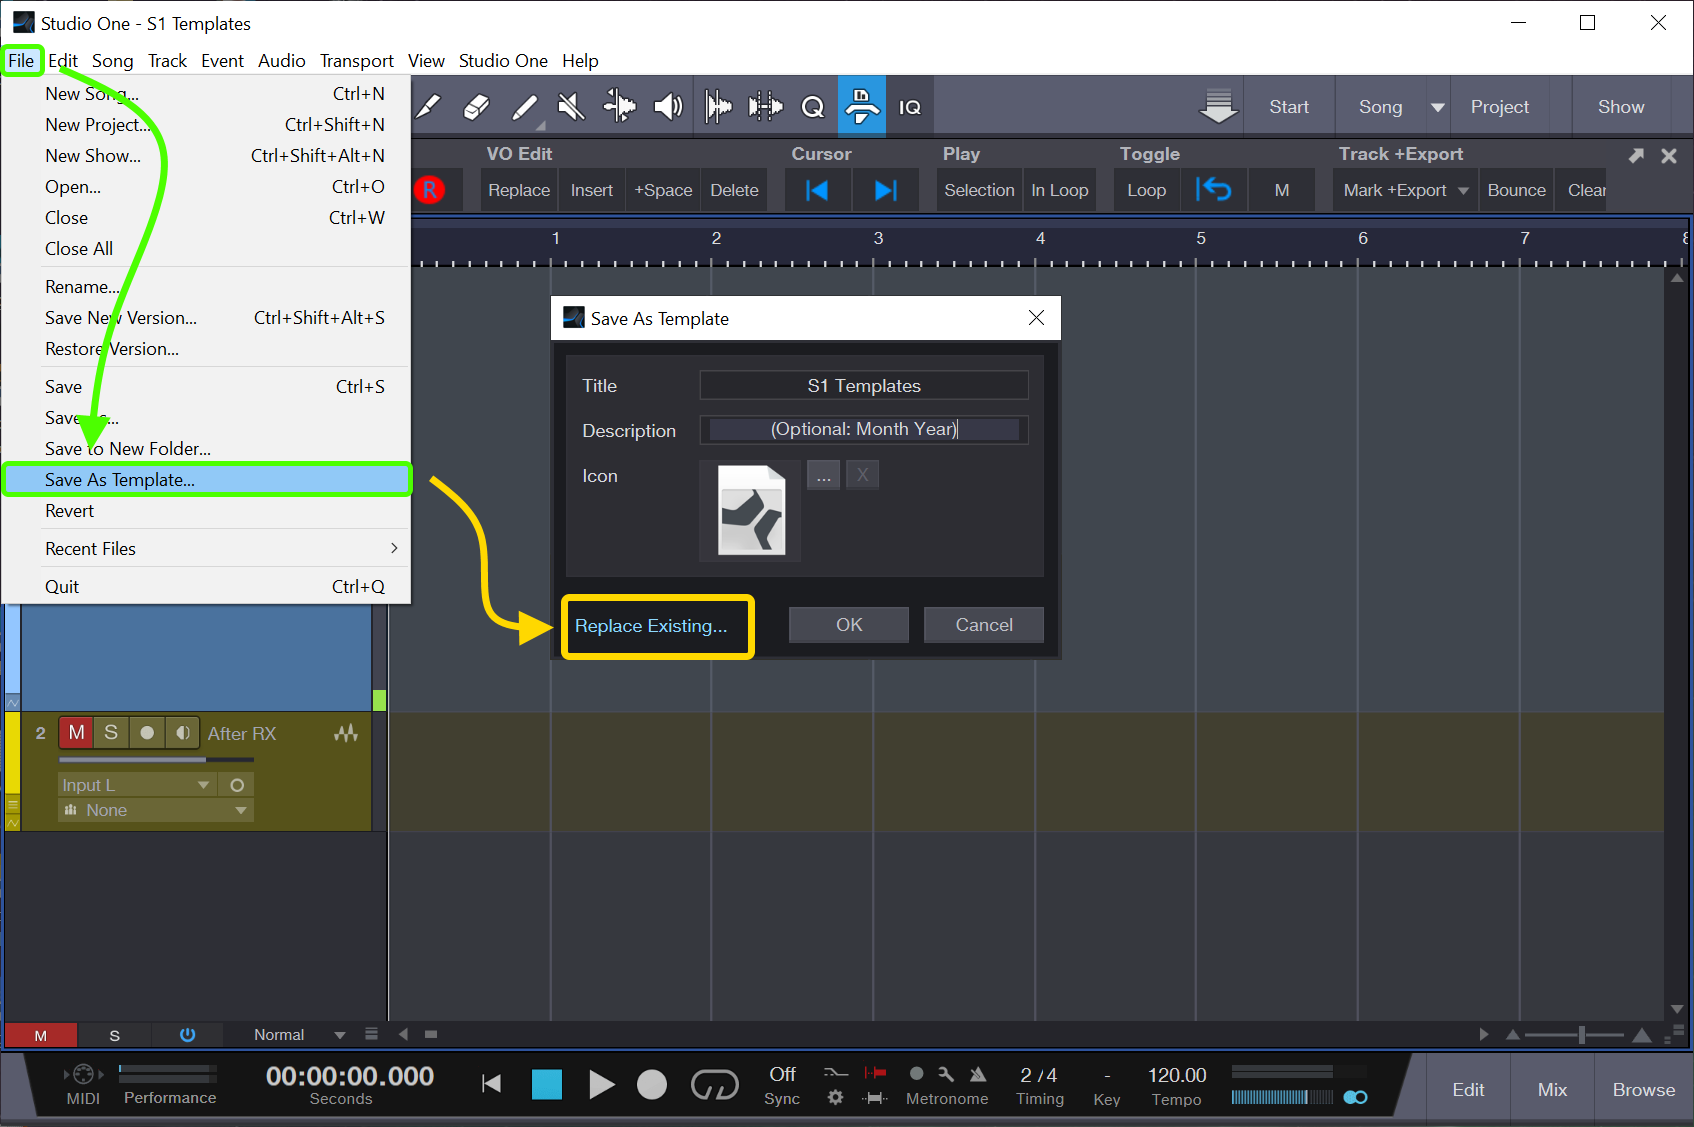
For Updates:
- Menu: “File > Save As Template”
- Use the “Replace Existing” link in the lower left corner
- Select one of the existing templates you want to replace/update
- Select “Open” (the template “Title” is filled in for you)
- “Ok” the “Save As Template” dialog

Using the “Song > Remove Used Files…” menu.
S1 will remove all audio which is NOT being used in the template if you choose the “Yes” button.
Important: Careful with the “Delete Files Permanently” checkbox. That also deletes them from your drive. Note that S1 still puts the files in the Trash/Recycling bin, but does remove them from the original disk location.
Best Practice: Open a fresh copy of your template, MODIFY IT as needed rather than clearing audio from an existing file, then saving the template.
In an ideal world, you do NOT save a file as a template AFTER you have exported audio from it. S1 saves track sizes, colors, zoom levels, and so much more.
If you Exported from that file, it will have file names/locations which are also saved with the template. That is helpful in a few contexts, but rarely helpful for VO/Narration/Podcasting.
Well, this is the Advanced session, so you can do what you want.
Swearing is only helpful short-term, so selective swearing is preferred. 😉